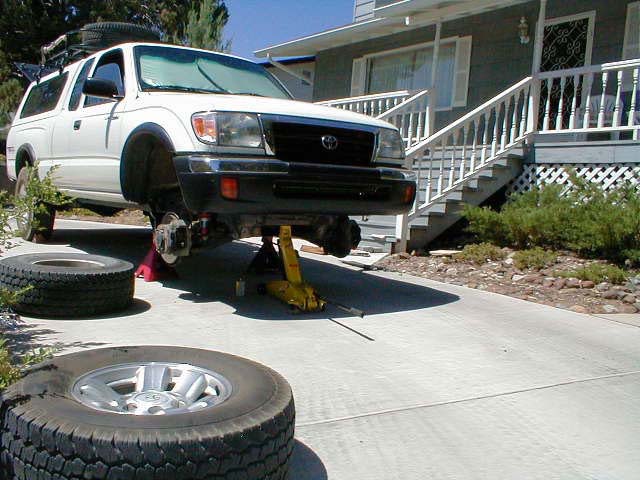
Sway-A-Way (SAW) Installation

This is a pictorial version of the installation that I did on my Tacoma. It is a record of my own personal experience and is NOT intended to be a replacement for the manufacturers installation instructions.

If you need a printer friendly version of these pages (without photos), click here for a text version of this document (Microsoft Word file).

Tools needed:
· Bottle jack
· Standard ratchet & socket set with extensions
· Torque-ratchet (if factory torque specs are desired)
· Sway-A-Way spanner wrench (or) ¼" allen wrench - individual (not on a set)
· Ball-peen hammer
· Cloth rag
· Tape measure or ruler
· Floor Jack (high reach for SUV/4x4 use)
· (2) jack stands rated for the truck


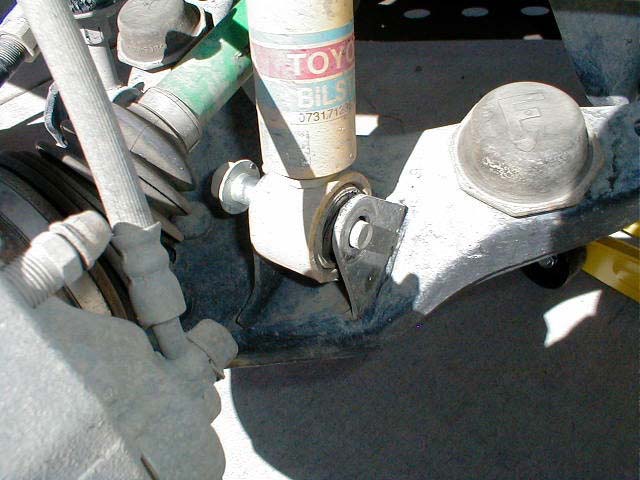
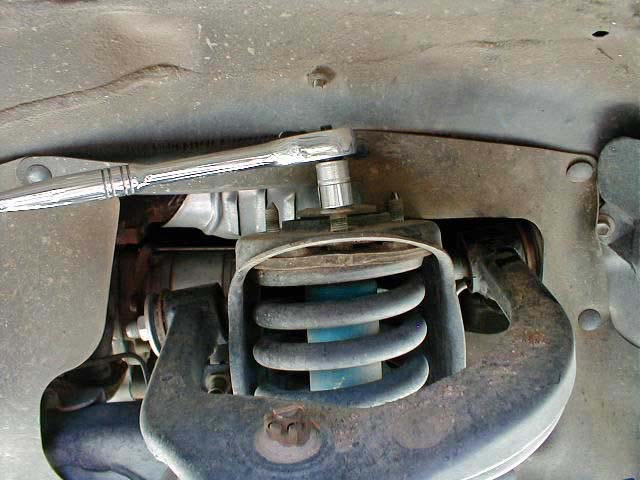
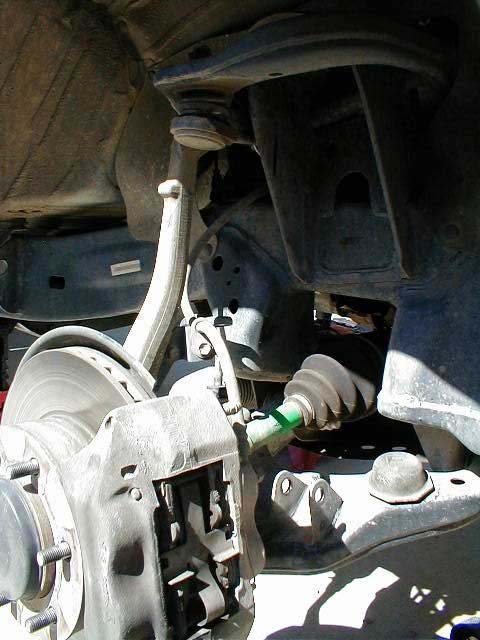
Part I - Removal of the stock units. 

1. Take pictures and measure your front end height for documentation. Measure from the top-center of the rim to the lower surface of the fender directly above it and record your findings. Make sure you are on a level surface when you record your measurements. 2. Set the parking brake and chock the rear wheels with blocks. Loosen the lug nuts on the wheels and jack the front end up (the skid plates have to be removed to position the jack under the center of the frame unless you want to jack each side alternately until the tires are off the ground). Make sure the jack stands are ready to go under the frame as the truck is being jacked up. After the tires leave the floor surface, remove the wheels.  3. The installation will be easier if you disconnect or remove the sway-bar. It allows the suspension arms to move more freely, and provides more working space near the lower mounts.
4. Remove the lower shock mounting bolt, nut and washer. You may need to use some liquid penetrant (like Liquid Wrench). I had to gently tap the end of the bolt with the hammer to get it moving (carefully - not to damage the threads).

5. Remove the top 3 OUTER bolts on the old coil-over assembly. DO NOT REMOVE THE CENTER BOLT on the top of the coil-over assembly (this bolt holds the spring tension on the coil - severe injury may result if removed).

6. Remove the entire coil-over assembly from the truck. Wipe off/clean the top mounting surface to get it ready to accept the new coil-over assembly.

on to Part II