| The new upper ball joint pressed into place.
|
|
|
|
Use a pair of snap ring pliers to install the new c-clip.
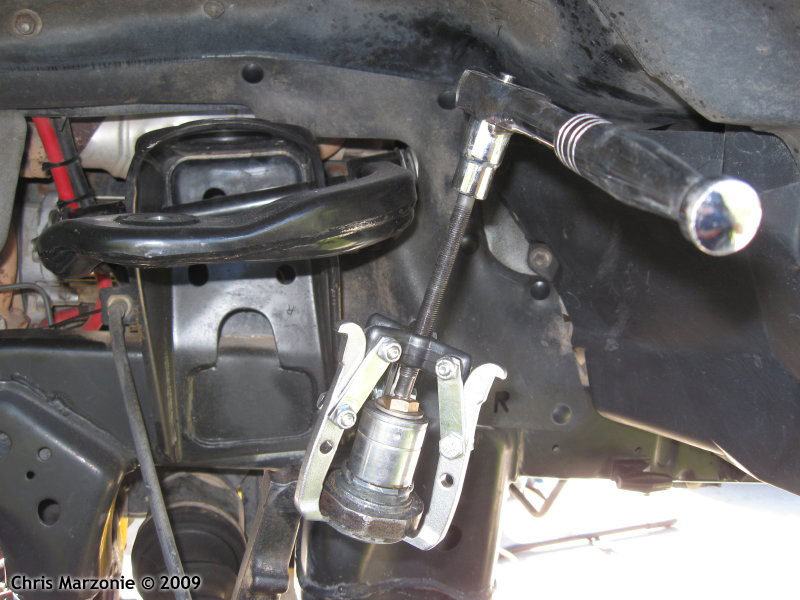
With the clip in the approximate position shown, use a flat blade screwdriver to work the edge of the clip over the wide ring of the joint body, just above the surface of the knuckle. You'll need to aim the screwdriver blade down and use a prying motion to work it into the space between the clip and the ring on the ball joint. It can be a little tricky, so have patience.
|
| Here is the ball joint properly seated with the c-clip in place between the ring on the joint body and the steering knuckle.
|
|
|
|
Pack the two grease packets into the boot per the instructions and place the boot over the stud. Install the wire clamp by wrapping it twice around the base of the boot, twisting the ends to tighten, and trimming/bending the ends per the instructions.
|
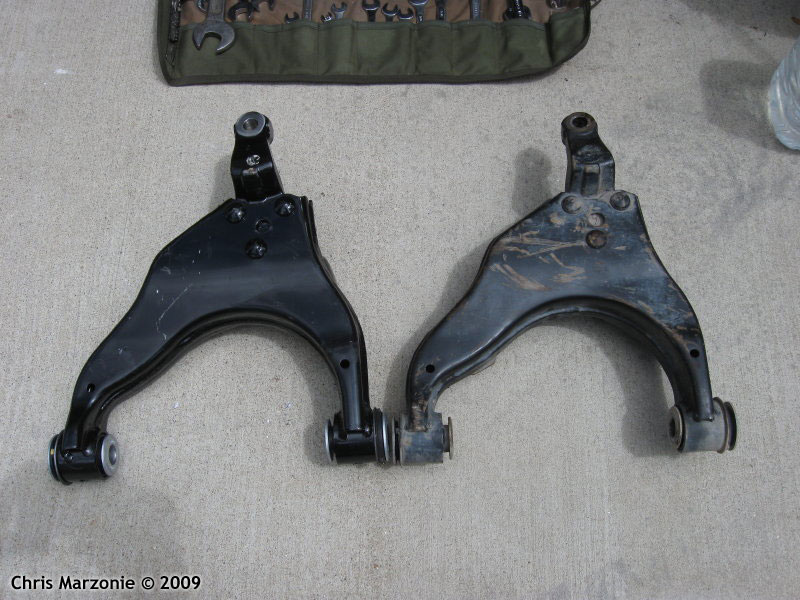
| With the ball joint and boot installed on the steering knuckle, place the stud through the opening in the new upper control arm, fasten the castle nut into place, and tighten to factory specification (80 lb/ft.) Install the new cotter pin, and you're done.
|
|