
Control Arms, part 3
Part III
|
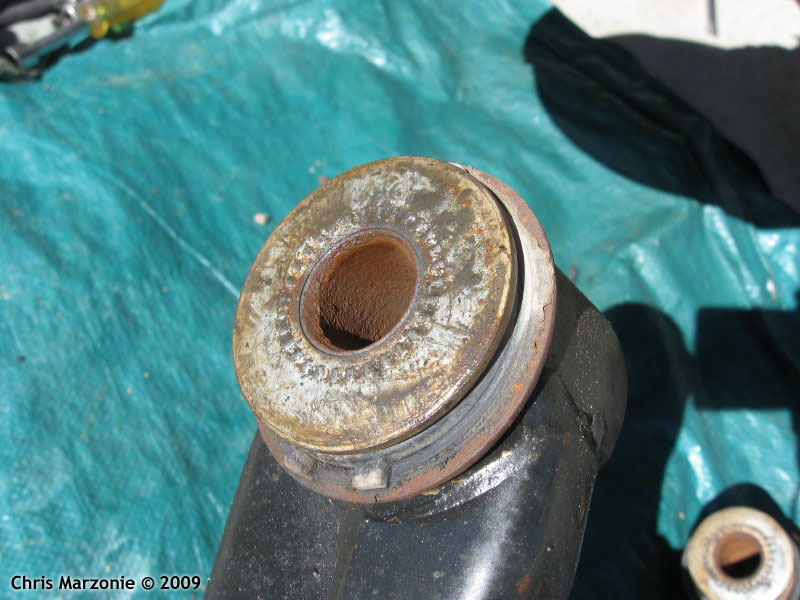
A photo showing the inside of the old control arm bushing. This is a metal tube that the metal cam sleeve is housed in, resulting in a potential for corrosion and rust. |
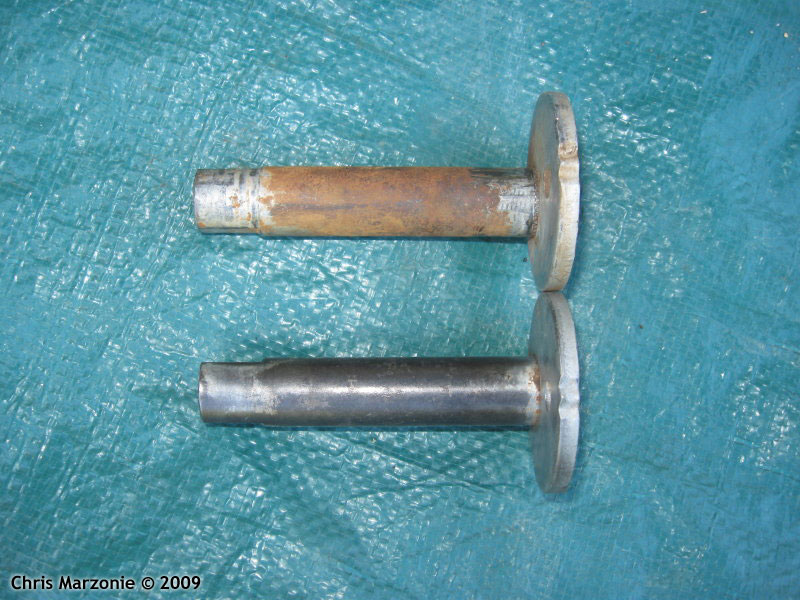
| Use a wire wheel, emory cloth, or sandpaper to clean up the cam sleeves before reinstalling them (top before and bottom, after cleaning).
|
|
|
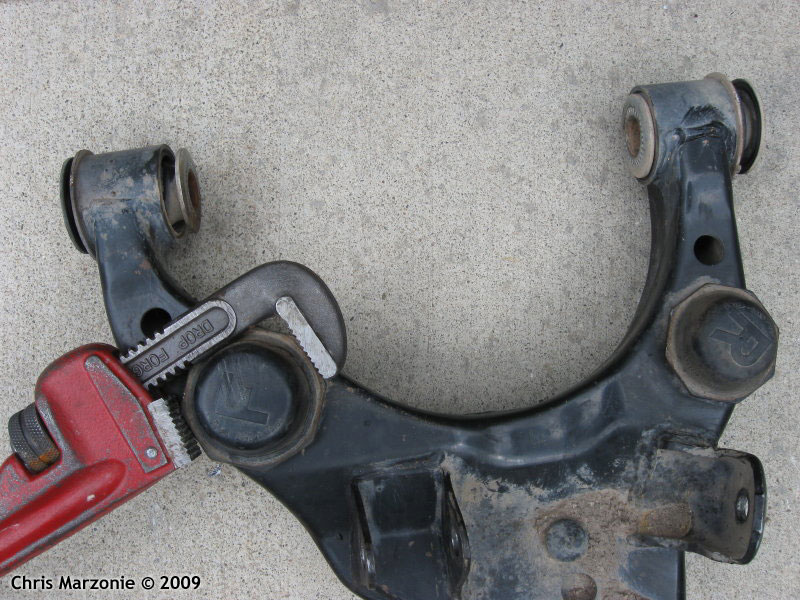
With the old arms removed from the vehicle, use a pipe wrench to unscrew the front and rear bump stops and install them on the new arms.
|
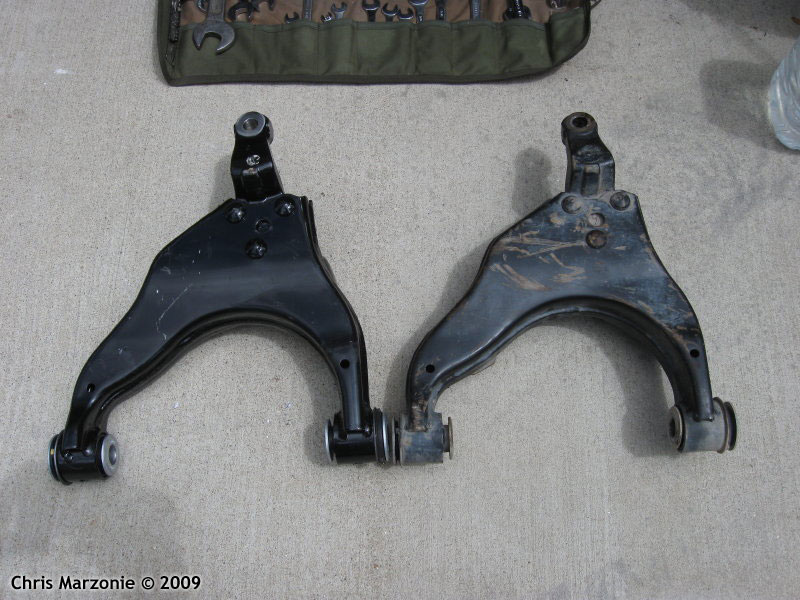
| Lower control arms, new and old.
|
|
|
Installation is the reverse of removal, except that you don't need to press the lower ball joint into the arm or the tie-rod-end into the steering knuckle. You can use the castle nuts to draw these parts through the openings and seat them properly. Tighten the castle nut on the lower ball joint to spec. (103 lb/ft.) and install a new cotter pin. Reinstall the cam sleeves and bolts, trying to align them close to where your marks are shown (you will still need to get an alignment done, so it's not critical). Tighten the cam bolts to spec. (96 lb/ft.) Tighten the castle nut on the tie-rod-end to spec. (67 lb/ft.) and install a new cotter pin.
|
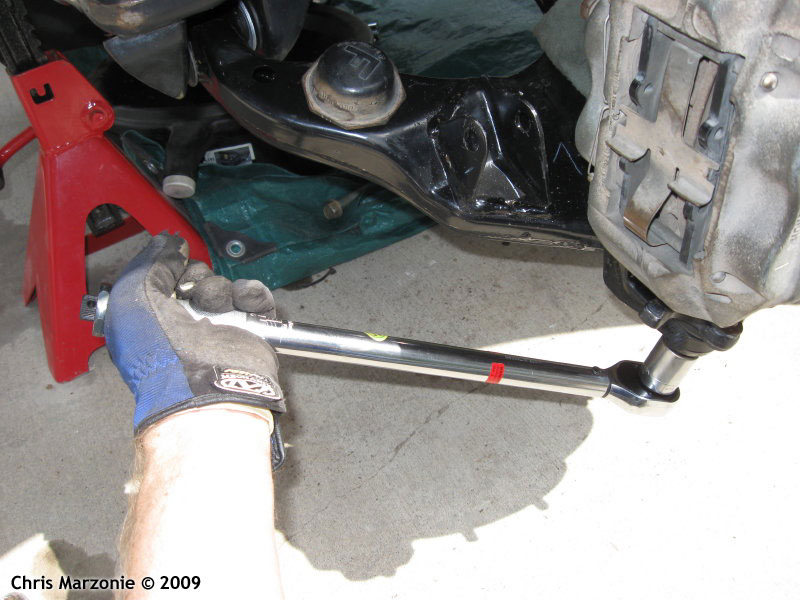
| Upper control arms: First, remove the castle nut and cotter pin from the upper ball joint stud. Be sure the steering knuckle with brake assembly is adequately supported and press the ball joint stud from the arm. If the ball joint will be not be needed again and replaced with a new one, you might try some destructive methods for removal: Some people have had luck pounding it out with a hammer and some people have had luck allowing the weight of the steering knuckle and brake/wheel hub to hang freely from the joint, while whacking the side of the arm with a hammer just enough for a split-second deformation of the opening to allow the stud to come free. I didn't have luck with either method, so I used a 2-3 arm puller (available through AutoZone's loaner program) to press the stud out. Here you can see a long-arm version being used.
| |
|
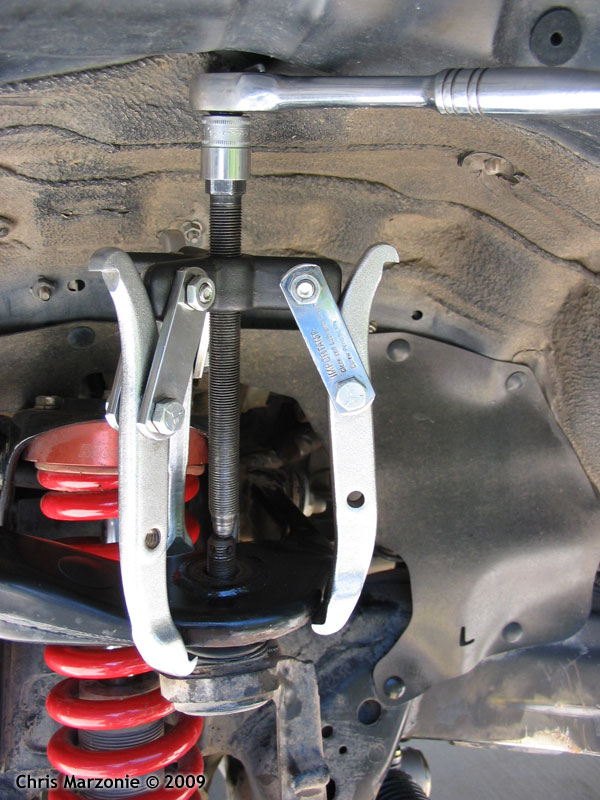
Once the stud is free of the arm, you'll need to press the ball joint out of the steering knuckle. If you don't have a long-arm puller, a short arm version may also be used but you will have to shorten the stud by cutting the threads off. This will allow the arms to grab the knuckle. In this case, a socket with a hex bolt in the opening is used as a pressing tool to get the ball joint free.
|
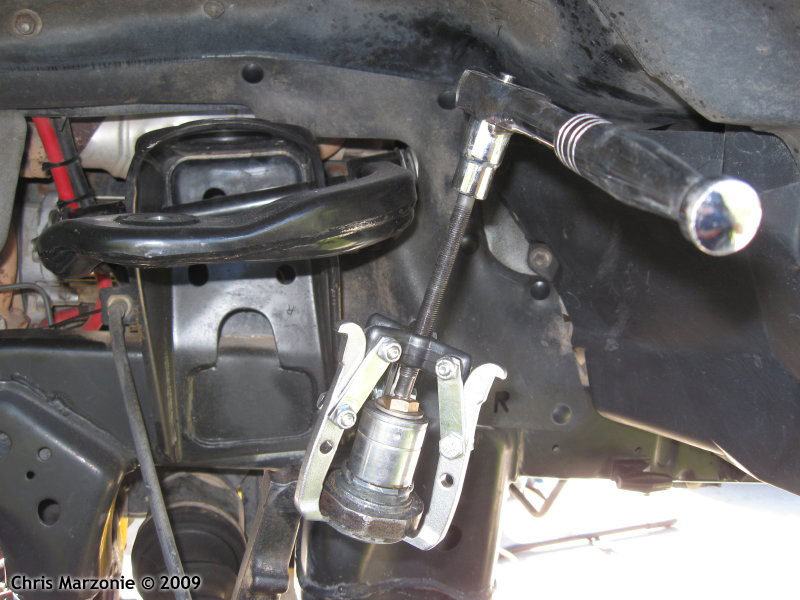
| The ball joint is slowly pressed out and you can see the rim of the joint separating from the steering knuckle.
|
|