Sway-A-Way Coilover Rebuild - Page 3

This is a pictorial version of the maintenance that I did on my Sway-A-Way RaceRunner shocks. It is a record of my own personal experience and is NOT intended to be a replacement for the manufacturers installation instructions and/or recommendations.


You will basically follow the instructions that the Sway-A-Way page shows for the shock revalve process. The only difference is that you will not be adjusting the valving, and you will not have a reservoir to deal with. MAKE SURE you have the adjustment collars lowered enough to relieve all tension from the spring. BLEED ALL OF THE NITROGEN PRESSURE OUT of the shock by depressing the schrader valve mounted on the red anodized lower mount. Secure the coilover in a vice with the top side up (with a rag to protect the surfaces from the vice). Take a reference measurement of how far the top center nut is threaded onto the top of the shaft. You will refer to this measurement later when you re-assemble the coilover. Use an allen wrench on the top of the shaft as a back-up while you remove the top center nut from the coilover assembly.
Remove the top washer, top poly bushing, top anodized mount, and the lower poly bushing, from the shaft.

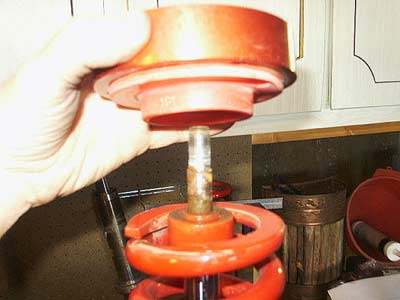
Lay the parts out on your work bench in the order they came off, and with the topside facing down. You will do this with all of the parts you remove, as you remove them, to keep everything in order so that you know it will go back on the same way it came off.

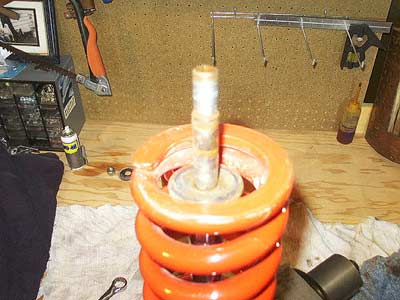
The coil spring is now ready to be removed from the shaft.

on to Page Four