 |
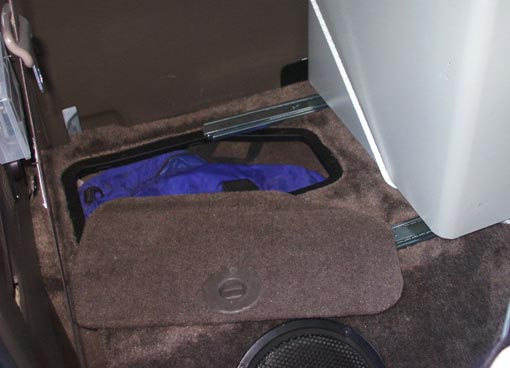
Fast forward a bit here. Another gap in the photos, but here you can see the finished bench
with the sliding track that I used to mount the fridge with. I decided to mount it on sliders for a few different reasons. The first reason
is that I wanted to be able to access and utilize the OEM storage compartments that are recessed into the stock bench. The second reason is
that I wanted to be able to shift the position of the fridge depending on the trip and what I might be carrying in the xtra cab. The 3rd reason
(and perhaps the most important :) is that I wanted the passenger seat to be able to fully recline so my wife could relax on long trips or
while she was waiting in the truck for me. The sliders allow me to keep the fridge behind my seat, so hers may recline, or when I am doing a
solo trip, I can position it in the middle for better weight distribution and air circulation. |
 |
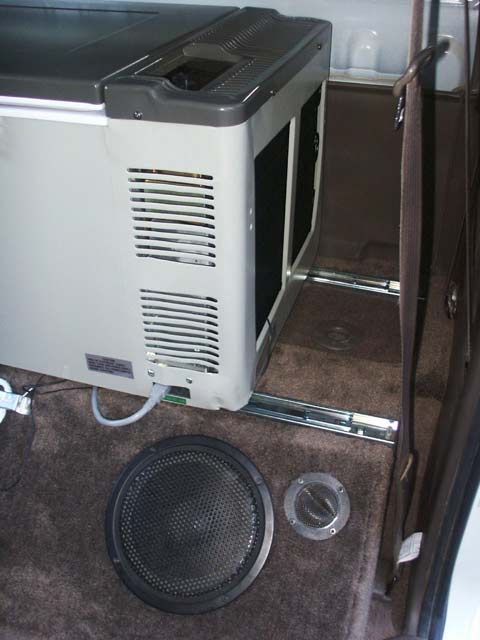
The white rope you see in the photo is used for holding the fridge in position.
It is secured with a small device at each end that uses a cam release system to hold tension on the rope. If I want to slide
the fridge, I just release the cam, slacken the rope and move the fridge. If I want to secure the fridge in a new position, I just
need to flip the rope to the other side of the fridge, and thread it back through the bottom cam, and tighten. |
|
Attaching the sliders to the bench was very tricky. I had to first attach the
sliders to the feet on the bottom of the fridge, before the fridge was in the
truck. This was necessary because I had to take the rails apart from the slider
brackets in order to put the screws through the underside and then through the
feet on the fridge. After I had the slider pieces attached to the fridge, I had to maneuver
the fridge into the cab with the sliders hanging off of the bottom, one for each "foot", so it was very awkward.
After I had the fridge sitting on the deck, I had to figure out where to
place the slider brackets in order to maximize the available travel for the
fridge to slide. The problem was that before the rails on the drivers side were
fully extended, they were hitting the fixed bracket part of the sliders on the
passenger side. So some careful placement got me the best travel I could get
before one side stopped movement of the other. This scenario may have been avoided by
using a longer, single slider but that would have been a special-order item and I would
not have gained much additional travel due to the width of the cabin. |
 |
|
Next, I had to make sure all 4 pieces were square to the deck. Then I had
to use a drill to make holes through the slider assemblies and the deck in
locations that would allow me to not only get the screws through, but also be
able to access the screws from under the deck to put the washers and nuts
on.
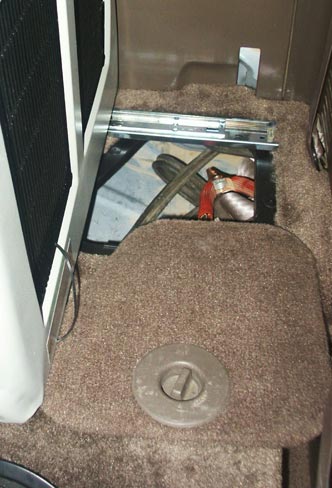
There are 2 screws per each "foot" and slider. (I think I used #12 phillips
head screws) The screws go through the slider bracket, through the deck, and are
fastened with 1" fender washers, nuts and loc-tite thread sealant. The screws on
the 2 back sliders go through the OEM sheetmetal bench (where the original seats
were mounted) and the front 2 screws go through the wood deck that I built. The
back screws had to be accessed by reaching inside of the little storage
compartments that were under the factory bench. The front screws were accessed
by reaching inside of the speaker holes that I cut in the new part of the
deck.
|
 |