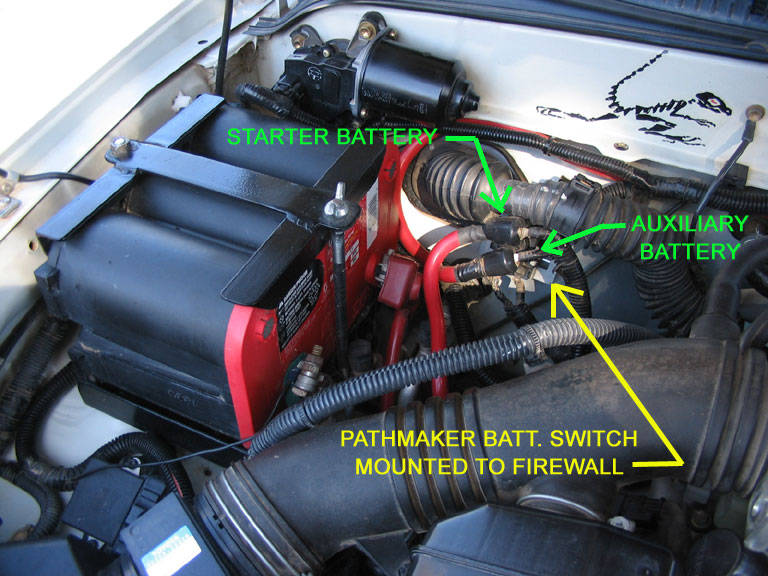
I found a place on the firewall where I could mount the solenoid/isolator. In this particular location, the connections for the battery cables and sensing wires would be easy to access and install. You can also see the top bracket mount that we made for the starting battery in this photo.
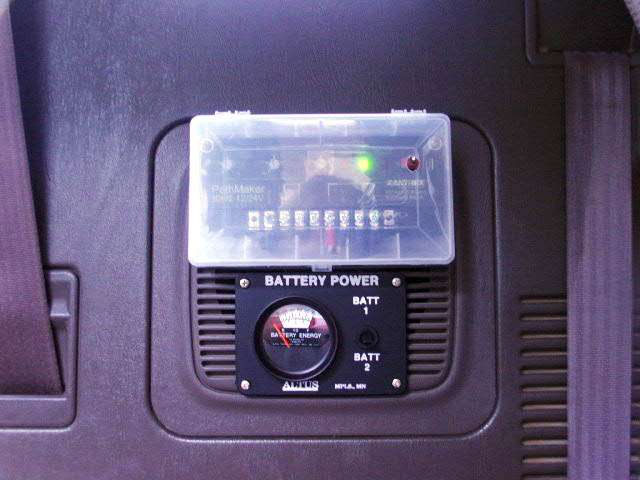
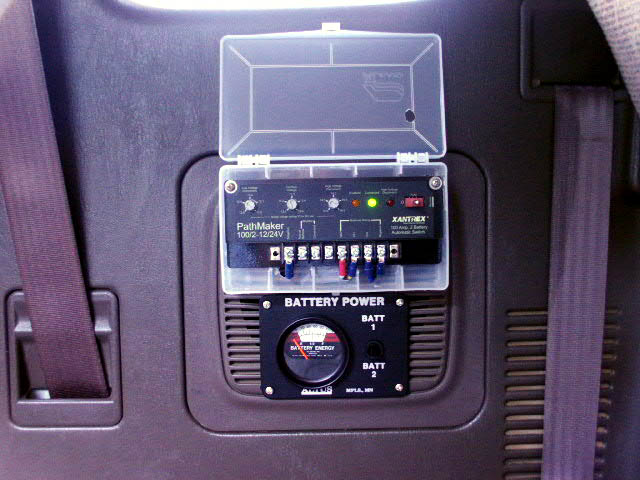
Since the control board was no longer mounted on the Xantrex panel, I needed to figure out a way to secure it. I also wanted it in a very accessible location so that the controls could be easily operated, and the indicator lights could be easily seen. I decided that the passenger side wall of the Xtra-cab would be a great location. I could utilize the existing audio speaker panel to fit it with a flush appearance, and conceal all of the wiring in the cavity behind the wall. I routed the wiring under the door sill, behind the kick-panel, and finally through the firewall. After some searching, I found a perfect enclosure for the control board, an opaque plastic fishing tackle box. With some trimming and drilling, it was a perfect fit.